Let’s say you have a really great idea for an app. You’ve been thinking about it for a while and you just can’t seem to shake it, so you decide to go ahead and build it, but you’re self-funding this adventure and you aren’t exactly swimming in millions. Hiring a designer will be outside your budget at the present moment — and besides that, you want to save all your cash for development (which is a smart move).
So where do you begin? Well, that’s the easy part: you start with prototyping. And don’t worry if your art skills are lackluster — our mobile app prototyping tool allows users to drag and drop shapes onto a canvas, so your lack of graphic design skills won’t slow you down. If you can click your mouse and drag it across your desk, you can make a prototype.
If the idea of prototyping is intimidating to you, don’t worry! You’re certainly not alone. Many beginners feel that way, but we’ve gone through extensive testing and revisions to make our platform intuitive and easy to use. We have plenty of resources (including a video tutorial) to help you get started, so you should never feel lost or unable to answer a question. We want you to benefit from this experience, so let’s get started!

Have a Vision in Mind
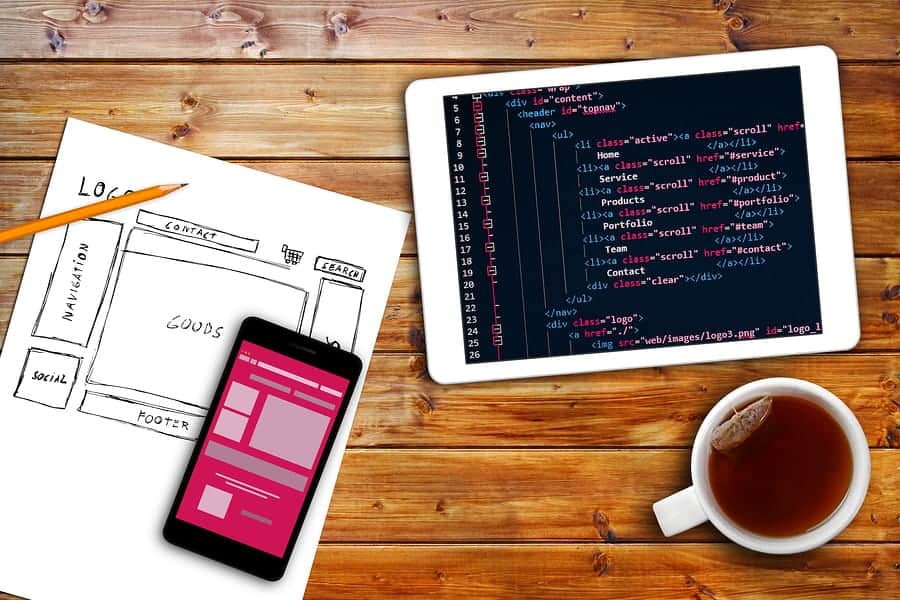
Before you start dragging and dropping your app to life, it’s important to have a plan mapped out in your head — and then drawn out on paper (even if it’s not pretty). Wireframes are a great way to create a visual map of your app’s pages and general flow. Many people skip this step, but it’s very important to have direction before you start your prototype.
These sketches don’t have to be complicated or even in color — in fact, experts suggest leaving wireframes in black and white so you don’t get too distracted by design. There will be plenty of time for color selection, font choices, and style later on. Right now, you’re just trying to get your bearings and make sure you’re not missing any vital information.
If your wireframe is well thought-out, prototyping will go much more smoothly. You won’t just be staring at your computer screen wondering where to go next because you’ll have your skeleton already drawn out. You simply re-create it in the digital tool.
Start with a Free Trial
At Proto.io, we offer a 15-day free trial of our mobile app prototyping tool so you can try before you buy — no credit card required. You test drive cars before you buy them, right? Why not take us for a spin? We think it’s important for people to feel comfortable with our product before they lay down their hard earned cash for it, so our free trial is the best place to start putting your new mobile app design into action.
When you get started, you’ll be given the option to go ahead and dive into your own new project or check out an existing mobile app prototype. You can simply view it to get an idea of what people have done with our tools, or pop it into the editor and get a feel for what our product looks like, as well as how to use it. We’ll even provide you with useful tips along the way.
If you’re familiar with photo editors like Photoshop, you may find that things feel pretty intuitive. We have a bank of tools to make your life easier, layers to provide more control, and a canvas in which to edit. You can upload assets you’ve already created, such as logos, images, or any premade graphics. You can also toggle quickly between different screens within your app. And because we know that not all designers like the same layout, feel free to adjust your preferences in the bottom right hand corner.
It’s Time to Start Prototyping!
Once you feel comfortable with the tool, go ahead and build your own. Get out your wireframes and start building from scratch. You can get back to the dashboard at any time by using the hamburger menu in the upper left hand corner. This is where you’ll see all your mobile app prototypes (because no one ever just designs one!) and our example, in case you ever want to refer back to it.
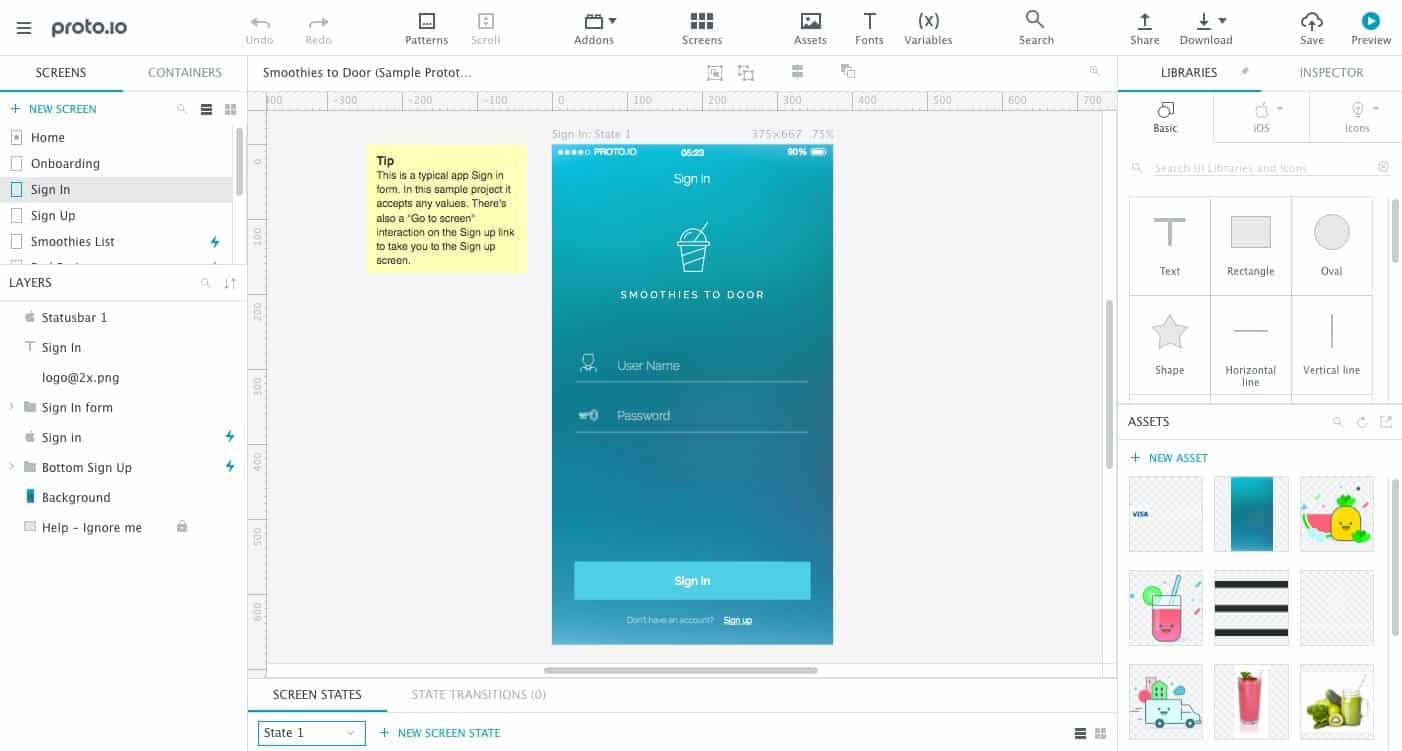
Whenever you want to start a new project, you can choose the type of device you’re designing for, as well as a model with its dimensions, such as the iPhone 7, Samsung Galaxy Tablet, Microsoft Surface, or Apple Watch. Once you’ve made your selections, a blank canvas appears for you that Bob Ross would be excited to paint a new world on.
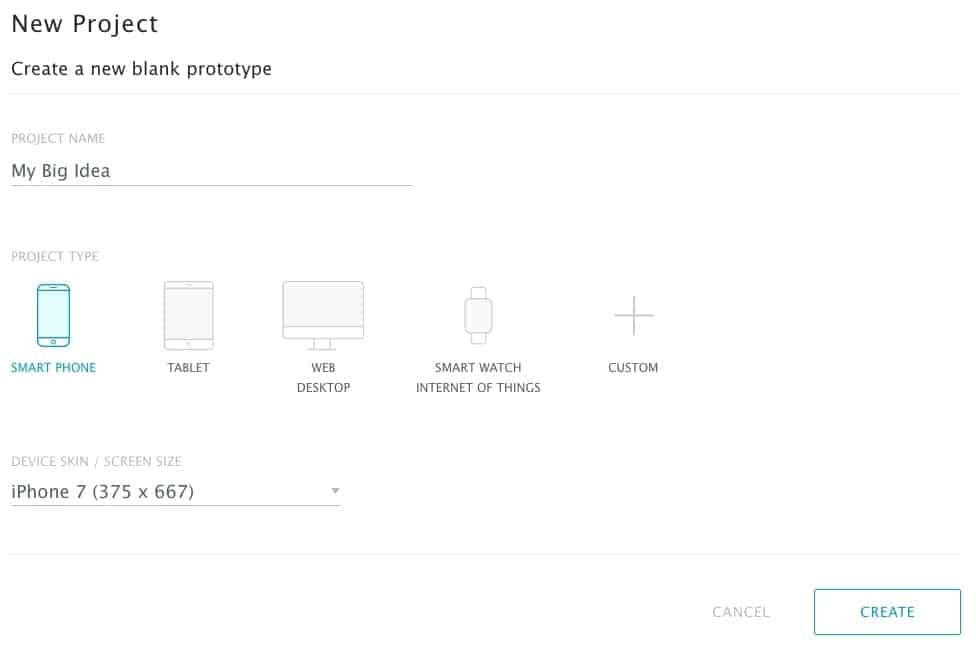
This blank canvas is exactly why we told you to have wireframes drawn out — a blank anything can be intimidating. That empty space has endless potential and it may be tough for you to find a place to get started, but if you have your drawings ready, you’ll have a head start on your prototyping journey. Pick up that first page (probably the sign in) and make your first screen.
Everyone has their own workflow, but we recommend starting at the beginning (it’s a very good place to start). This will help you go through the app as if you’re a new user and might show you any holes you missed — but don’t worry if you don’t find any, because your testers are sure to find them later when your prototype is functional.
Create Your Interactions
Now that you have all your screens in order, you need to work on your interactions. The interactions you create will have a substantial impact on your mobile app, as they shape your user’s experience. You can track which of your pages have interactions by the lightning bolt next to the screen name in your screens window.
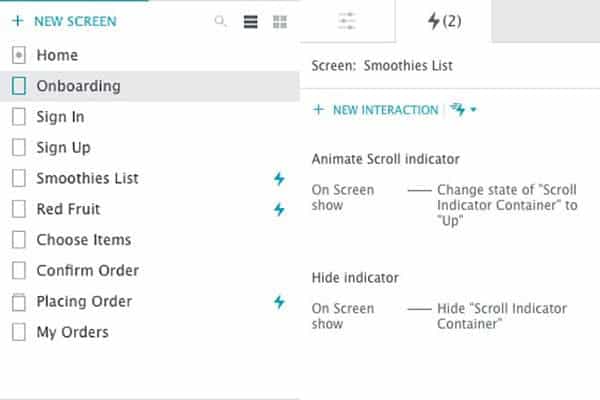
On the Smoothies List page in our example, there is a “scroll indicator container,” which allows the user to scroll down the page to look for smoothies that might interest them. Clicking on a smoothie takes you to another screen that details the ingredients and instructions for how to make it (although for the purposes of our example, we only show the Red Fruit smoothie). Similarly, on the Red Fruit smoothie screen, we have a container that allows users to order the ingredients.
Which brings us to another point: don’t forget to play around with animations when you’re prototyping. Animations are a great way to add a little polish and shine to your mobile app. In our smoothie example, you can see there’s an animated bar that goes across the screen while your order is being confirmed. This is so users don’t think your app has frozen and close the app before the order is processed. When it’s done, a static screen pops up listing the details of your order and its estimated arrival.
Test Test Test
Once you’re (at least partially) satisfied with your prototyping job, you should share your work with family, friends, or colleagues and ask them to test it. We’ll create a custom link for you so you can send it to as many people as you’d like. You can even see how many visitors your project had, how many total views, and how long they spent playing around in there.
Hopefully, your inner circle can provide you some great feedback and maybe even find something wrong with your prototype — that way, you can fix them prior to the development phase, or worse: launch. Surely, your users will find things they don’t like or that seem “broken,” but at least you will have caught some of those issues early, which will also save you money in the development phase, since your coder will have fewer problems to fix.
With each correction, be sure to send your prototype out to the same group of people so they can compare it to the previous version. Each person will be looking for the thing they complained about, but they may still catch new things they hadn’t noticed before — and if that’s the case, don’t get discouraged! This is all a part of the prototyping process and you’ll be glad you did it sooner rather than later.
Don’t Miss Our Prototyping Tutorials
About a day or so after you sign up for your free trial of Proto.io, you’ll get an email with links to tutorial videos in it. Even if you’ve already started prototyping, take a few moments to watch them and look for tips and tricks that we think will help you make the most of our product (we’re kind of experts).
You will also see a Getting Started Video on the dashboard page and we encourage you to use our extensive help menu in the bottom left hand corner of our interface. And for best results, we recommend you download our mobile app so you can view your prototype on the type of device you’re designing for.
Don’t be afraid to get in touch if you have any problems!. Happy prototyping!
What are you waiting for? Proto.io lets anyone build mobile app prototypes that feel real. No coding or design skills required. Bring your ideas to life quickly! Sign up for a free 15-day trial of Proto.io today and get started on your next mobile app design.
Do you have questions about mobile app prototyping? Let us know by tweeting us @Protoio!